
 English
 русский
 Español
- CNC M Series Fully Automatic Multi-Radius Tube Bending Machine
- NC M Series Hydraulic Tube Bending Machine with Mandrel Control
- NC L Series High-performance Hydraulic Pipe/Tube Bending Machine
- CNC Series Tube Roll Bending Machine for Metal Profiles
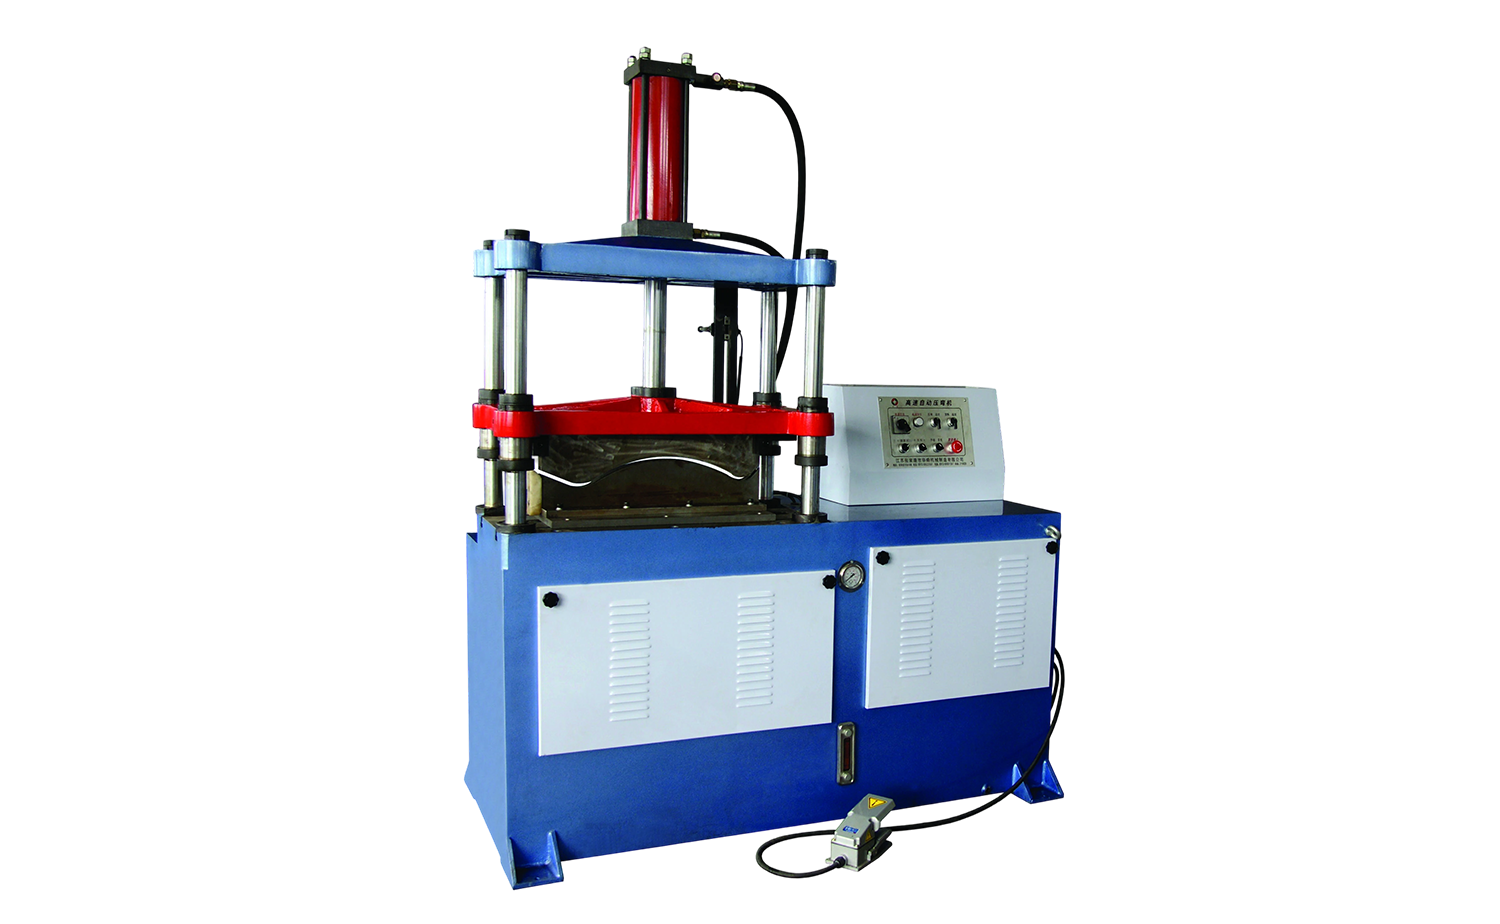
- YW Series Heavy-Duty Press Bending Machine for Metal Tubes
- SS Series Fully Automatic CNC Pipe Bending Machine
Electrical Conduit Bend Radius: Minimums, Code Rules, and Bending Tips for Electricians
Date:Oct 12, 2026
Content
Ask a room full of electricians how tight you can bend a run of conduit and you will get a dozen confident answers. The right one is a distance: measured to a specific point, published in a table, and checked by whoever signs off on the installation. Get it wrong and the pull becomes a fight, the insulation gets scuffed, or an inspector asks you to cut out a bend that took twenty minutes to form.
This guide covers what an electrical conduit bend radius actually measures, where the minimum numbers come from, how the material changes the answer, and why the bending method you choose decides whether you can reach that number at all.
What an Electrical Conduit Bend Radius Actually Measures
Bend radius is a length, not an angle. Two bends can both turn 90 degrees and still be worlds apart, one swe
eping gently across a long stretch and the other kinked almost to a corner. The radius is the distance from the centre of the curve out to a reference line on the conduit, and which line you choose changes the figure you quote.
- Centerline radius (CLR): from the centre of curvature to the middle of the conduit wall. Bender shoes, formers and machine specifications are almost always stated this way.
- Inside radius: measured to the inner surface of the bend, which is the tighter of the two. Cable protection rules work from this edge, including the familiar requirement that the inner edge be at least five times the cable diameter.
- Outside diameter multiple: shorthand used on flexible conduit and cable data sheets, such as a stated minimum of 6 x OD. Useful once you know which diameter is being multiplied.
One trap catches nearly everyone: trade size is not outside diameter. Half-inch EMT measures about 0.71 in across the outside, and the gap widens as sizes climb. Calculate a radius from the nominal trade size and you can be below the real minimum before the first mark is made.
Two companion numbers live in the same drawer. Gain is the length that disappears into the curve, so the finished run is slightly shorter than straight-line arithmetic suggests. Take-up, sometimes called deduct, is the value subtracted from your mark so the bend lands where you want it. Both depend on the shoe radius, which is another reason a bend radius cannot be treated as guesswork.
Minimum Bend Radius by Conduit Type
The minimum is set by whoever has authority over the installation, and that authority differs for rigid steel, PVC and flexible products. The table below summarises how each family is normally governed and what a reasonable starting point looks like.
| Conduit family | Where the minimum comes from | Typical starting point |
|---|---|---|
| EMT (thin-wall steel) | Bend tables in Chapter 9 of the code, by trade size, plus bender shoe data | Commonly cited minimums start near 4 in for 1/2 in trade size and 5 in for 3/4 in |
| Rigid metal conduit and IMC | Chapter 9 tables; thread and coupling geometry | Grows with trade size; the thicker wall tolerates relatively tighter bends |
| Aluminum rigid conduit | Chapter 9 tables and manufacturer data | Similar to steel at the same size, but the softer wall ovalises sooner |
| PVC conduit | Manufacturer heat-bending instructions | Often a multiple of outside diameter, commonly 5 to 10 x OD |
| Flexible and liquid-tight conduit | Published listing data for the specific product | Commonly 4 to 7 x OD; never sharper than the listing allows |
| Cable inside the raceway | Cable protection rules applied to the inner edge of the bend | Five times the cable diameter as a widely applied floor |
Two notes matter more than the figures themselves. A code minimum is a floor for installation, not a design target; a radius comfortably above it pulls far more easily. And one-shot and full-shoe columns exist because a hand bender forms only part of the curve at a time, so the tool in your hand decides which limit applies to you.
Why the Minimum Bend Radius Matters in Practice
Pulling gets harder, fast
Every bend adds friction along the inner wall, and tension builds with each one rather than adding in a straight line. The sharpest radius in the run dominates the effort, and undersized bends are the usual reason a pull that should be easy stalls halfway through.
Insulation and cable protection
When a tight bend meets high tension, the cable is pressed hard against the inside of the curve. That sidewall pressure is what damages insulation and, on data and control cables, shifts the electrical characteristics enough to matter.
Inspection and documentation
Finished bends are checked against published tables rather than opinion, so knowing which edition applies and whether local amendments tighten it can save a second site visit.
Shape retention of the conduit itself
A bend tighter than the material allows does more than look wrong: the cross-section ovalises and the effective internal area drops. Thin-wall EMT is the usual victim, and mandrel support or a larger shoe radius is the usual cure.
How the Bending Method Decides What You Can Reach
The smallest radius you can produce is a property of the tool as much as of the conduit. A radius that a hydraulic machine forms in one pass may be impossible with a hand bender, and the reverse is just as true.
Hand benders and one-shot bends
A hand bender forms a fixed radius set by its shoe, so the minimum for that tool is also the only radius it makes in a single stroke. Accuracy comes from marking with the correct take-up value and overbending slightly to allow for springback, which is more pronounced on aluminium than on steel.
Hydraulic and CNC benders with mandrel support
When the wall is thin or the tube is large, a mandrel inside the bore supports the cross-section through the bend and lets you work closer to the theoretical minimum without flattening it. Mandrel control and pressure settings turn the tightest usable radius into something you can set, repeat and record instead of something you discover by trial.
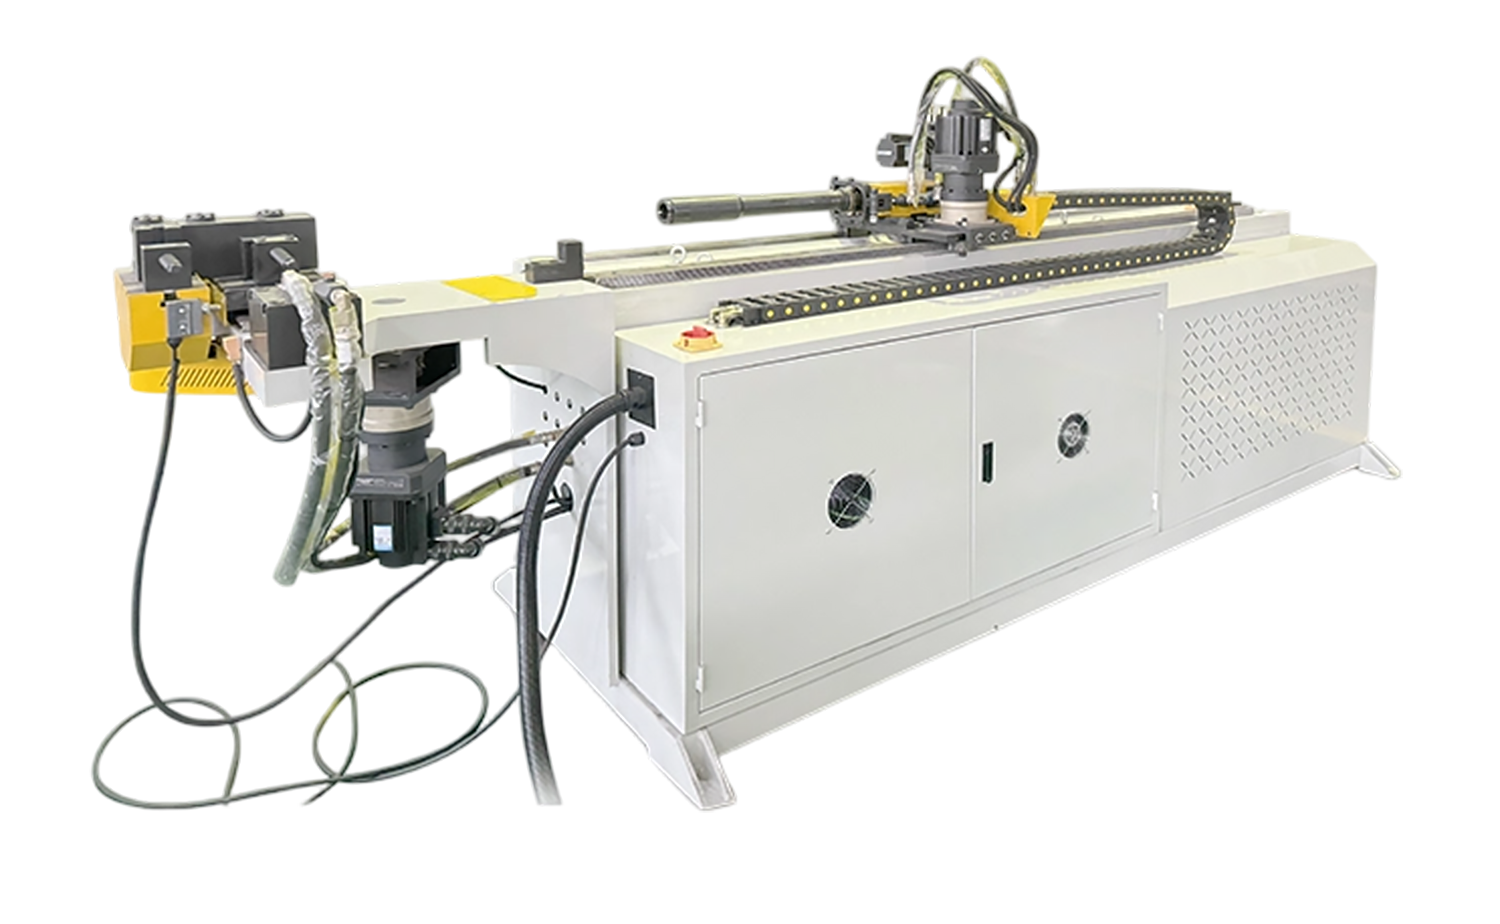
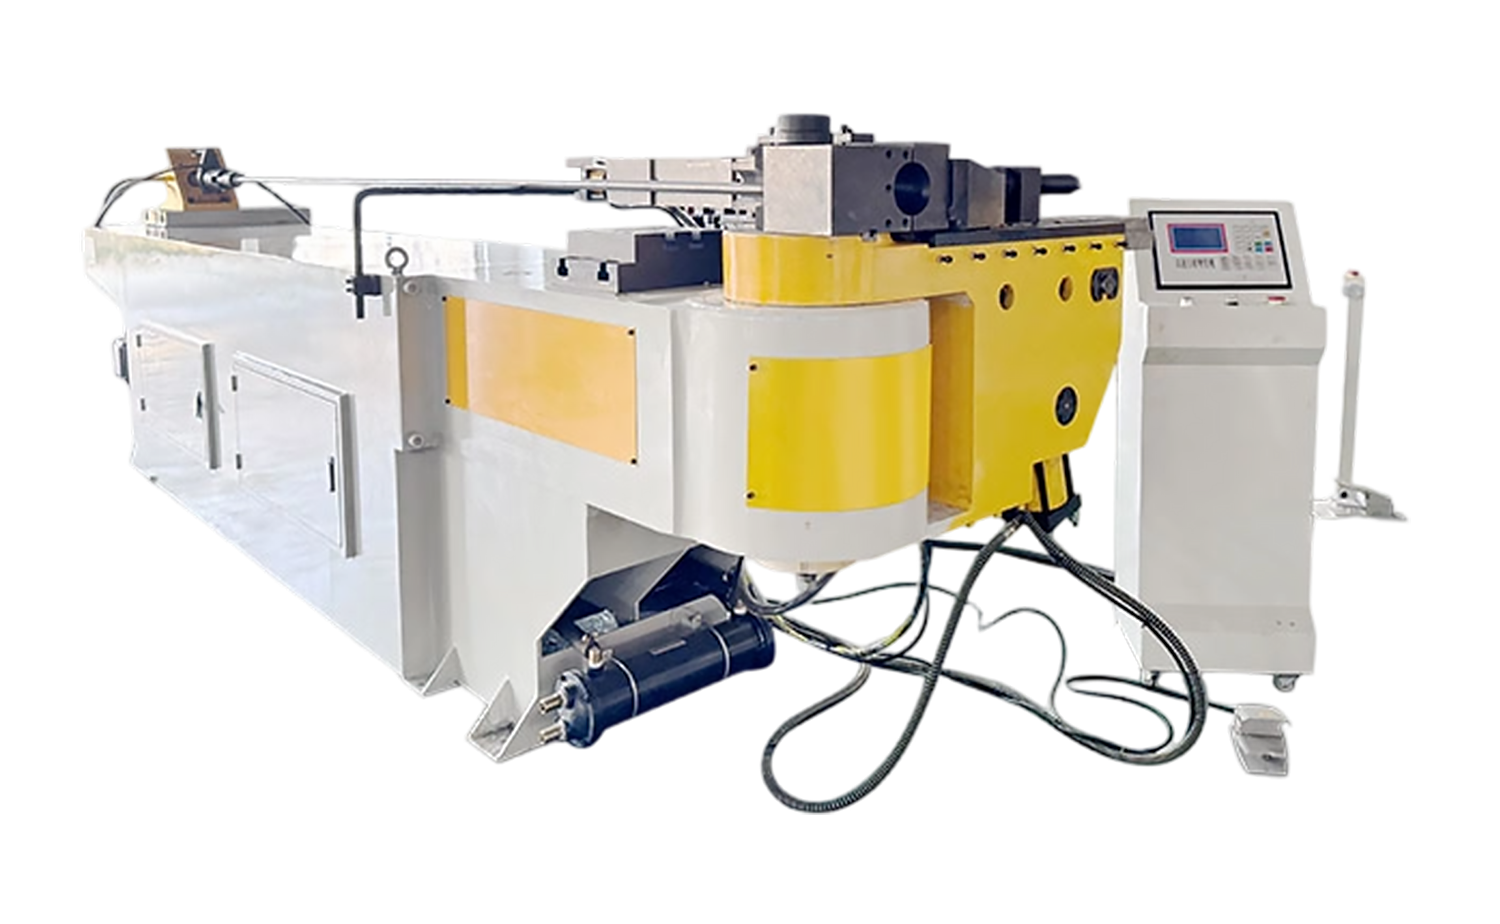 NC M Series Hydraulic Tube Bender with Mandrel ControlSemi-automatic single-head bender with mandrel control for supported bends, hydraulic clamping, stored programs, and repeatable results in steel, stainless, aluminum, titanium, or brass.View Product →
Multi-radius machines go further: stacked dies and programmable positioning allow several radii in one part, and the control keeps bend data consistent from the first piece to the thousandth. When a run needs a sweep, an offset and a tight 90 degrees on the same tube, that consistency is what keeps parts interchangeable.
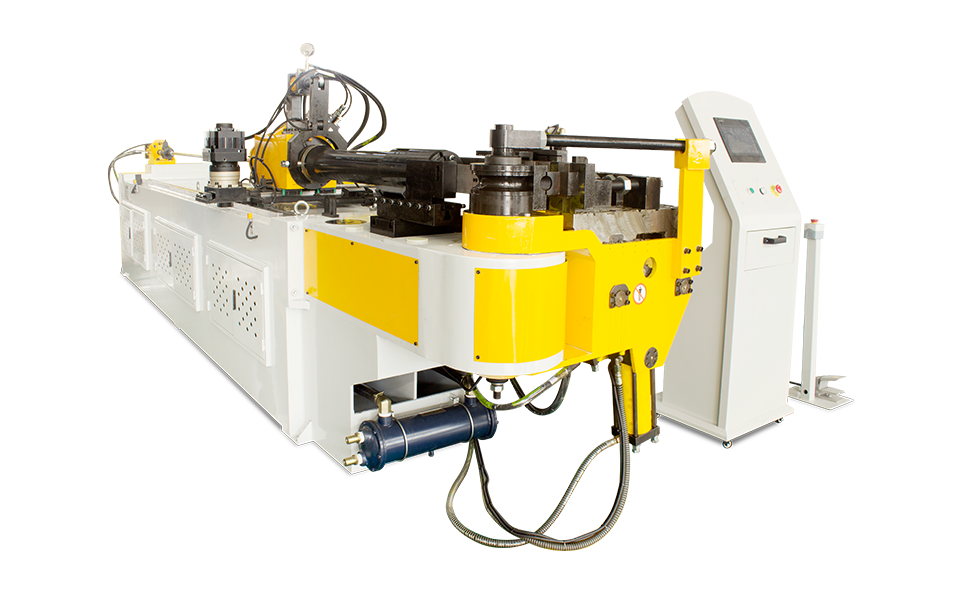 CNC M Series Fully Automatic Multi-Radius Tube Bending MachineSB-75CNC fully automatic multi-radius bender with servo feed and rotation, PLC touchscreen control, mandrel lubrication, and hydraulic or servo modes for high-precision repeatable tube bending.View Product →
Roller and press bending for long sweeps
Where the radius is measured in metres rather than inches, roller machines take over. Three-roller benders form a continuous curve by passing the tube between the rolls, which suits sweeping conduit runs, large-radius architectural work and any bend a shoe cannot reach. The trade-off is less control over exactly where the curve ends, which is why layout still happens on paper first.
A Pre-Bend Checklist
Before the first mark goes on a length of conduit, work through these in order:
- Confirm which code edition and which local amendments apply to the installation.
- Measure the true outside diameter of the conduit and the diameter of the cables going in.
- Match the shoe or die to the actual trade size, not to what happened to be on the shelf.
- Decide whether a mandrel is needed; thin wall and large diameter usually answer yes.
- Bend a short offcut first and measure the result instead of trusting the chart alone.
- Allow for springback before cutting, and mark using the take-up value for that shoe.
- Check the finished part against the minimum before it goes into the run.
Getting the Numbers and the Machine to Agree
Bend radius sits where three things meet that rarely talk to each other on site: the code table, the cable inside the conduit, and the tool on the bench. When they agree, the installation pulls smoothly, passes inspection and looks planned from end to end. When they do not, the problem tends to show up at the far end of the run.
We are HuaShun Machinery, and we build tube and pipe bending, cutting and end-forming equipment for workshops that deal with this balancing act every day, from small job shops to high-volume plants. A good deal of that work is architectural: visible conduit and tube runs in construction and decorative metalwork have to respect the same radius limits while still looking deliberate. We also write about how forming technology is changing on the shop floor in our insights on pipe bending.
If a radius on your drawing looks impossible, it usually is not; it simply needs the right shoe, proper mandrel support and a machine that can hold its settings. Send us the tube size, wall thickness, material and the radius you need, and we will tell you honestly whether it can be bent, and on what.




Copyright © 2025 Huashun Technology All Rights Reserved.
Custom Precision Tube Forming Machine Manufacturers