
 English
 русский
 Español
- ES550 Semi-Automatic Aluminum Cutting Machine for Big Profiles and Tubes
- CNC455 Series Fully Automatic Aluminum and Copper Cutting Machine
- TM-S-40/60/80 High Efficiency Automatic Tube Sealing Machine
- SC-30 Chipless Tube Straightening and Cutting Machine
- TM80 Automatic Single Head Tube End Forming Machine
- DEF50PVS Servo Tube Chamfering Machine for Short Metal and PVC Tubes
Brazing Copper to Stainless Steel: Process, Tips, and Tube Preparation
Date:Oct 16, 2026
Content
Brazing copper to stainless steel is one of those fabricating tasks that looks simple until you try it. The two metals respond to heat in very different ways, and a joint that appears sound on the outside can hide porosity, oxidation, or a leak that shows up only after pressure is applied. In our years around tube processing machinery, we have seen many shops struggle with this joint, and the pattern is almost always the same: the brazing itself is not where things go wrong, the preparation before the torch comes out is. This article covers the process from a practical, shop-floor perspective: what filler to choose, how to handle the heat, and above all, how to prepare copper and stainless steel tube ends so the joint has a real chance to be strong and leak-tight.
What Makes Copper and Stainless Steel a Challenging Pair
Copper and stainless steel meet most often in HVAC and refrigeration line sets, automotive fluid systems, and instrumentation tubing where corrosion resistance and joining convenience both matter. The challenge is that the two metals have little in common metallurgically. Copper conducts heat extremely well and expands quickly; stainless steel conducts poorly and is protected by a tenacious chromium oxide layer. If the approach is not right, the stainless surface resists wetting while the copper side loses heat so fast that the filler freezes before it flows.
Brazing is the right process for this material pair because it creates the joint without melting the base materials. That keeps the stainless steel microstructure intact and avoids the brittle intermetallic phases common in fusion welding. It also suits thin-wall tube, where a full melt would be damaging. The trade-off is that brazing puts a premium on cleanliness, fit, and temperature control.
Key Process Variables for a Sound Joint
Good results start with understanding what a braze actually requires: clean metal surfaces, a controlled joint gap, and enough heat to make the filler flow and wet both base metals. For copper to stainless steel, three things deserve special attention:
- Cleanliness. Both surfaces must be free of oil, grease, oxide scale, and marking residues. On stainless steel, even a light fingerprint can disturb wetting with certain fillers.
- Joint clearance. For most silver brazing fillers, a radial clearance of 0.002 to 0.005 inch is ideal. Too tight, and the filler cannot penetrate; too loose, and capillary action breaks down.
- Heating balance. Copper draws heat away quickly, while stainless steel holds it. Bring both sides of the joint to brazing temperature together, usually by directing more of the flame at the more conductive member.
Filler selection ties everything together. Silver-based brazing alloys are the general workhorse because they wet both copper and stainless steel well. Copper-phosphorus alloys wet copper beautifully but will not wet stainless steel reliably without a silver-bearing flux, so they are rarely the right choice for a direct copper-to-stainless joint. Nickel-based fillers belong in higher-temperature service and require substantially more heat.
| Filler family | Typical working range | Best suited for |
|---|---|---|
| Silver-based (BAg) | 620-870°C | Most copper-to-stainless joints; excellent wetting on both base metals |
| Copper-phosphorus (BCuP) | 700-800°C | Copper-only joints; limited wetting on stainless without silver-bearing flux |
| Nickel-based (BNi) | 925-1200°C | High-temperature service; needs careful heat control and an inert atmosphere |
Tube Preparation: The Real Difference Between Good and Bad Joints
On the production floor, the most common source of a failed copper-to-stainless braze is not the flame; it is the tube end. A cut that leaves a rough or skewed face creates a variable gap that promotes voids. A heavy burr can block filler flow or trap flux. Residual cutting oil contaminates the joint no matter how skilled the operator is.
The first step is a square, clean cut. For copper and stainless steel tube, a saw in good condition is the minimum; for higher production, a dedicated cut-off machine delivers repeatable end geometry that hand cutting cannot match.
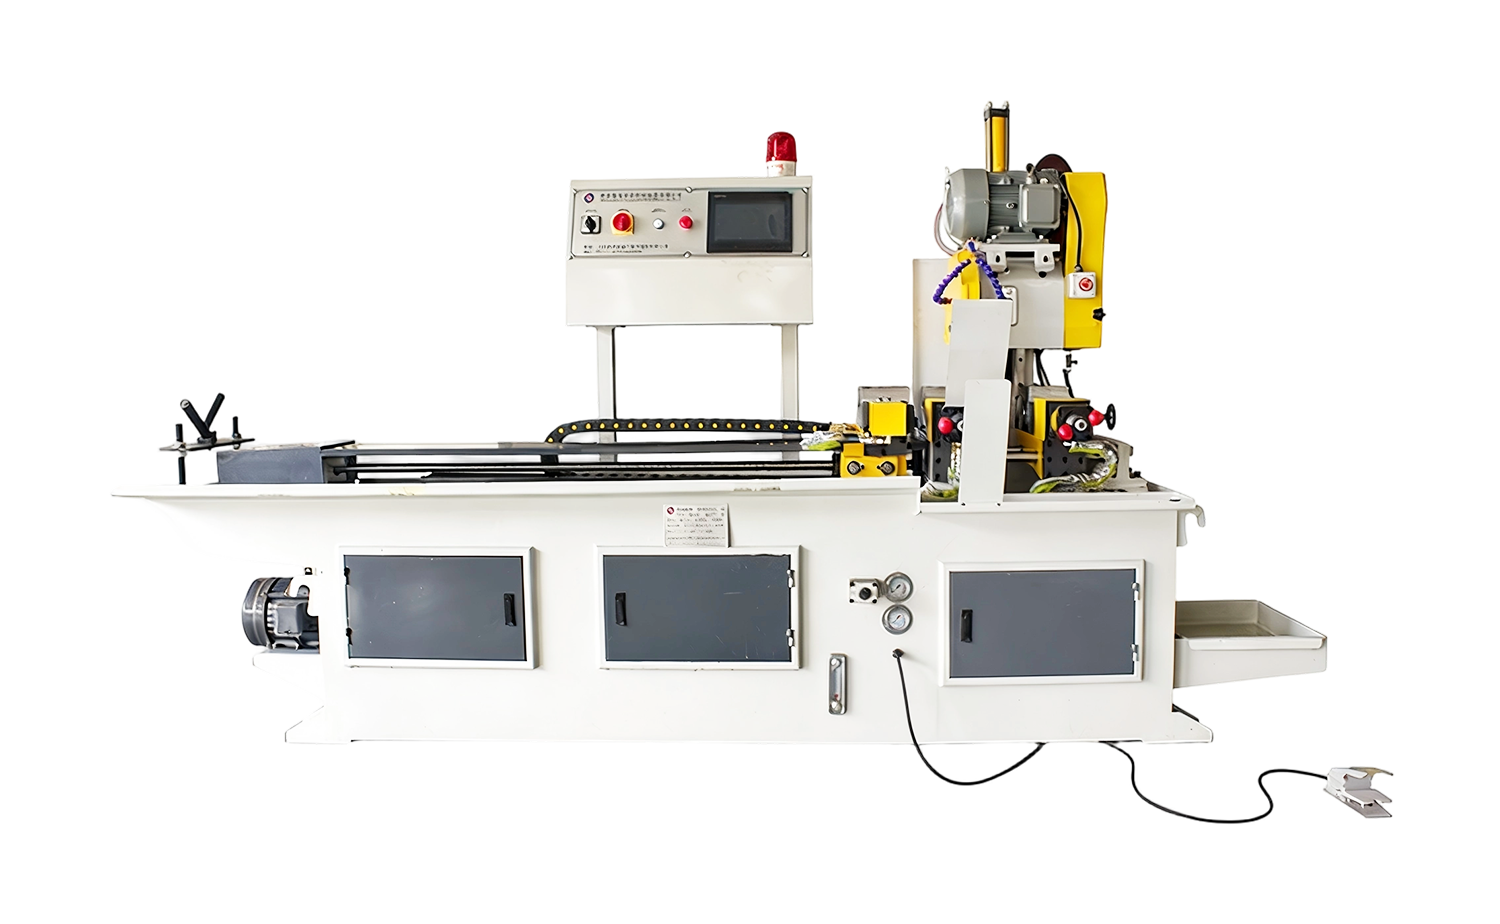 Fully Automatic Servo Feed Tube Cutting Machine for Precise EndsThis CNC-controlled cut-off machine automates feeding, clamping, and cutting to produce square, burr-free ends—ideal preparation before chamfering and brazing.View Product →
Once the tube is cut, remove burrs inside and outside. A chamfering machine pays for itself quickly when many ends are processed daily. Chamfering produces a consistent lead-in edge, helping the filler flow into the joint and keeping sharp edges from acting as stress concentrators under vibration and thermal cycling. It also removes the oxide fragments that can contaminate the braze.
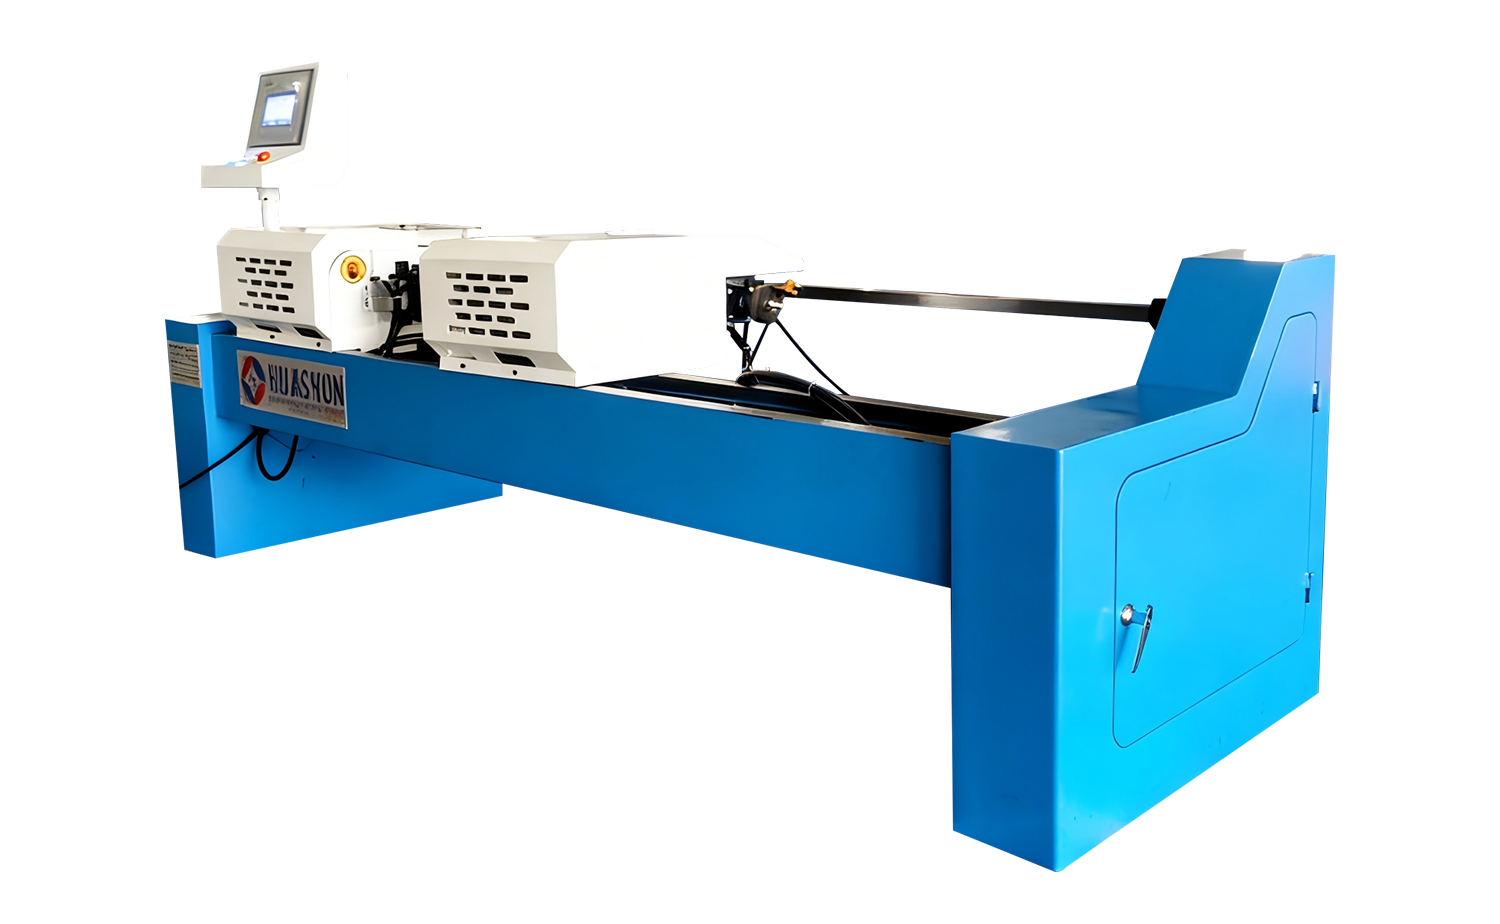 Double Head Multi-Side Chamfering Machine for Consistent Edge FinishingA semi-automatic pneumatic chamfering system that works on tubes and bars of various materials, creating clean lead-in edges in a single pass.View Product →
If you are evaluating different machine styles, our guide to tube cutting machines gives an overview of manual, semi-automatic, and fully automatic options.
End Forming and Fit-Up
The third preparation step is making sure the two parts actually fit. In a socket joint, the clearance between the inner and outer tube surfaces has to stay within the brazing gap range, and that is hard to achieve with stock tube when dimensions vary. Many shops use tube end forming machines to expand, reduce, or flare one end so the joint falls into the recommended clearance window.
A typical approach is expanding the copper tube end to slip over the stainless tube, or reducing the stainless end when the assembly calls for it. Whichever route you take, forming should be done before the final solvent wipe, and parts should be handled carefully afterwards to keep the surfaces clean up to the moment of brazing.
Common Defects and How to Avoid Them
Most brazing defects can be traced back to preparation, heat balance, or both. Watch for these typical failure modes:
- Incomplete fill. The joint gap is too wide or the part reaches temperature unevenly; review the heating pattern and confirm joint clearance.
- Porosity. Trapped flux or contamination inside the joint; clean thoroughly, use fresh flux, and avoid overheating the filler.
- Oxide scale. Dark oxide on the stainless surface usually means overheating or insufficient flux coverage; use an appropriate flux and limit time at temperature.
- Leaks under service pressure. These are almost always traceable to prep issues. Pressure test your assemblies and use helium leak testing on critical lines for a definitive result.
Choosing the Right Preparation Equipment
The line between occasional hand-brazed joints and a production situation matters. If you braze a few joints per week, hand tools and careful technique are enough. If you manufacture assemblies every day, the preparation steps belong in a machine, not in the operator's judgment. That is exactly where we see the biggest difference between shops that fight high reject rates and shops that treat brazing as a stable, routine step.
Our own background is in tube and pipe processing machinery, so we have spent years watching customers combine cutting, end forming, and chamfering equipment to stabilize their brazing lines. The principle is simple: a prepared joint with square end cuts, controlled burrs, and correct fit gives the torch operator the best chance to do a clean job on every joint.
Brazing copper to stainless steel does not have to be a black art. Keep the surfaces clean, hold the right gap, balance the heat, and choose a filler that wets both base metals. On the production side, pay attention to the three preparation steps: square cutting, chamfering, and formed end contours. When those are right, the braze becomes predictable. If you are setting up or improving a brazing line and want to talk through the machine side of it, we will be glad to help.
Recommended Articles


Copyright © 2025 Huashun Technology All Rights Reserved.
Custom Precision Tube Forming Machine Manufacturers