
 English
 русский
 Español
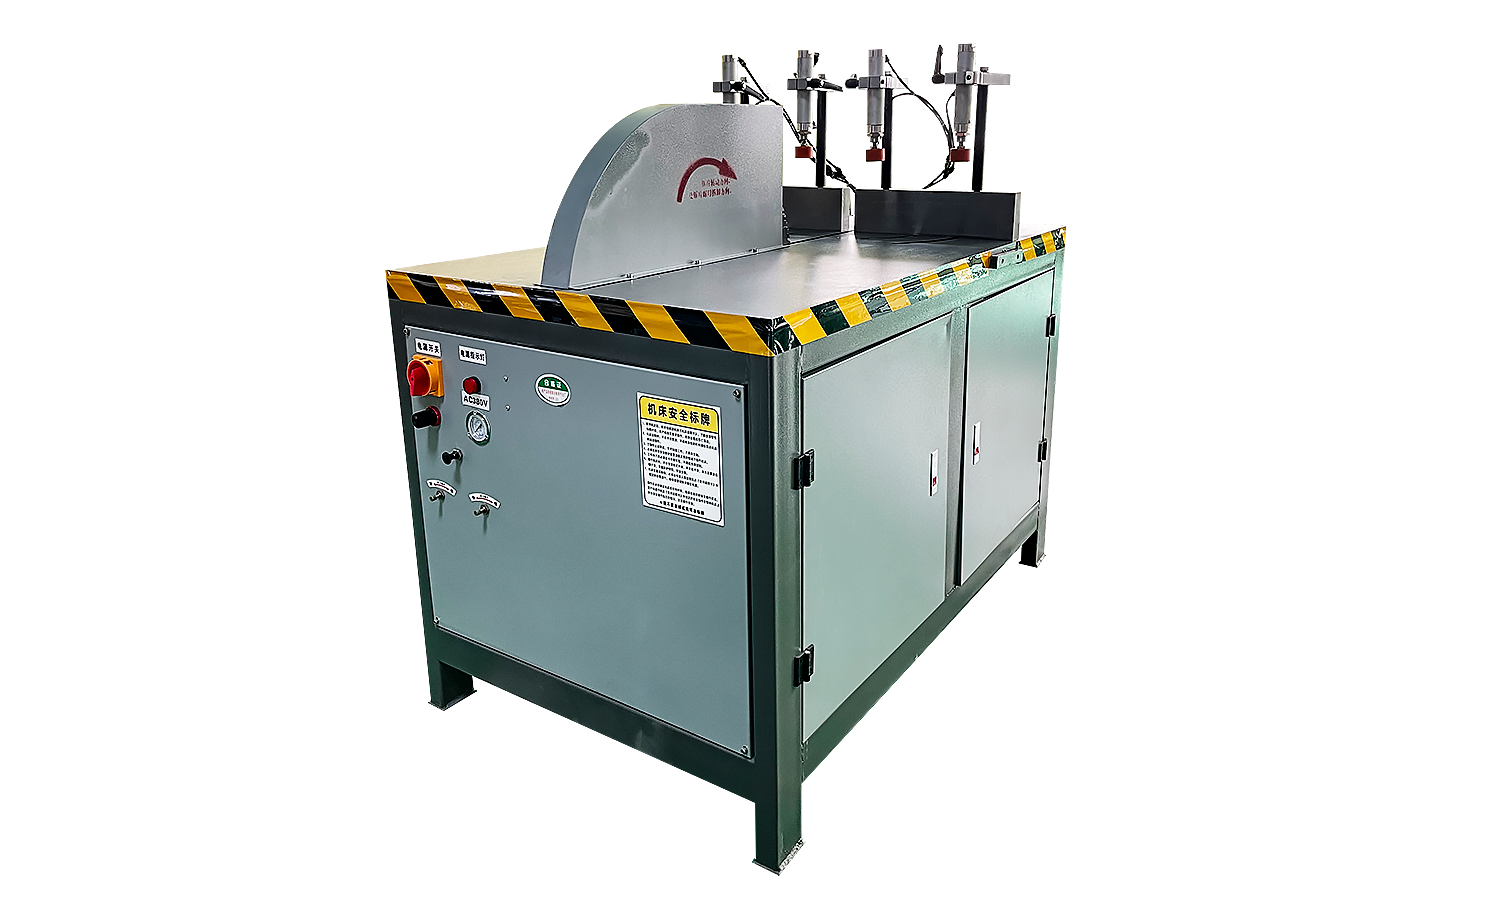
- ES550 Semi-Automatic Aluminum Cutting Machine for Big Profiles and Tubes
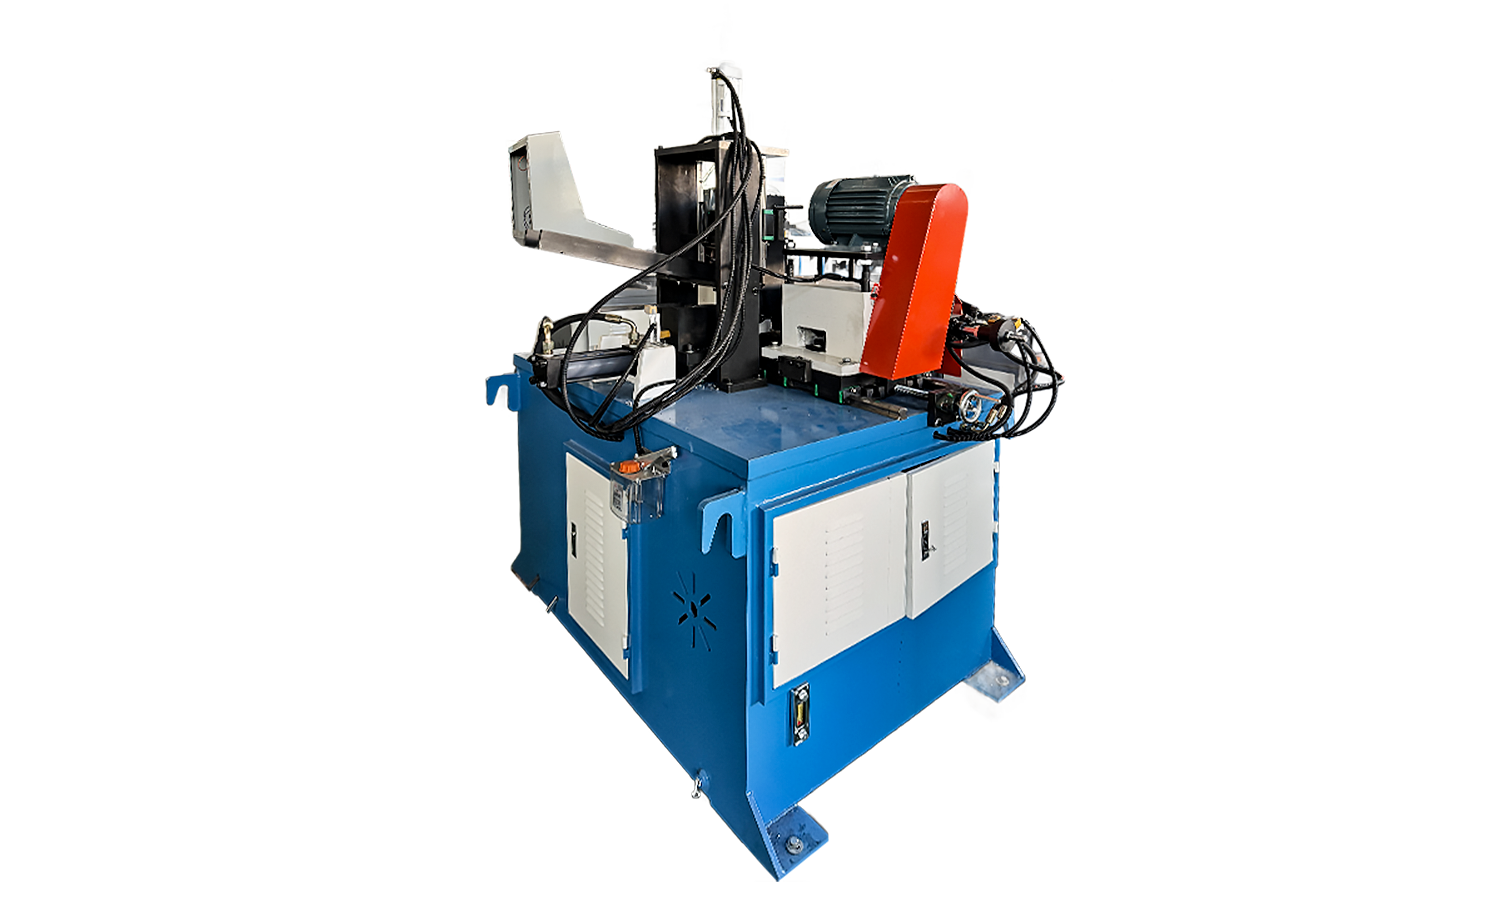
- DEF50PVS Servo Tube Chamfering Machine for Short Metal and PVC Tubes
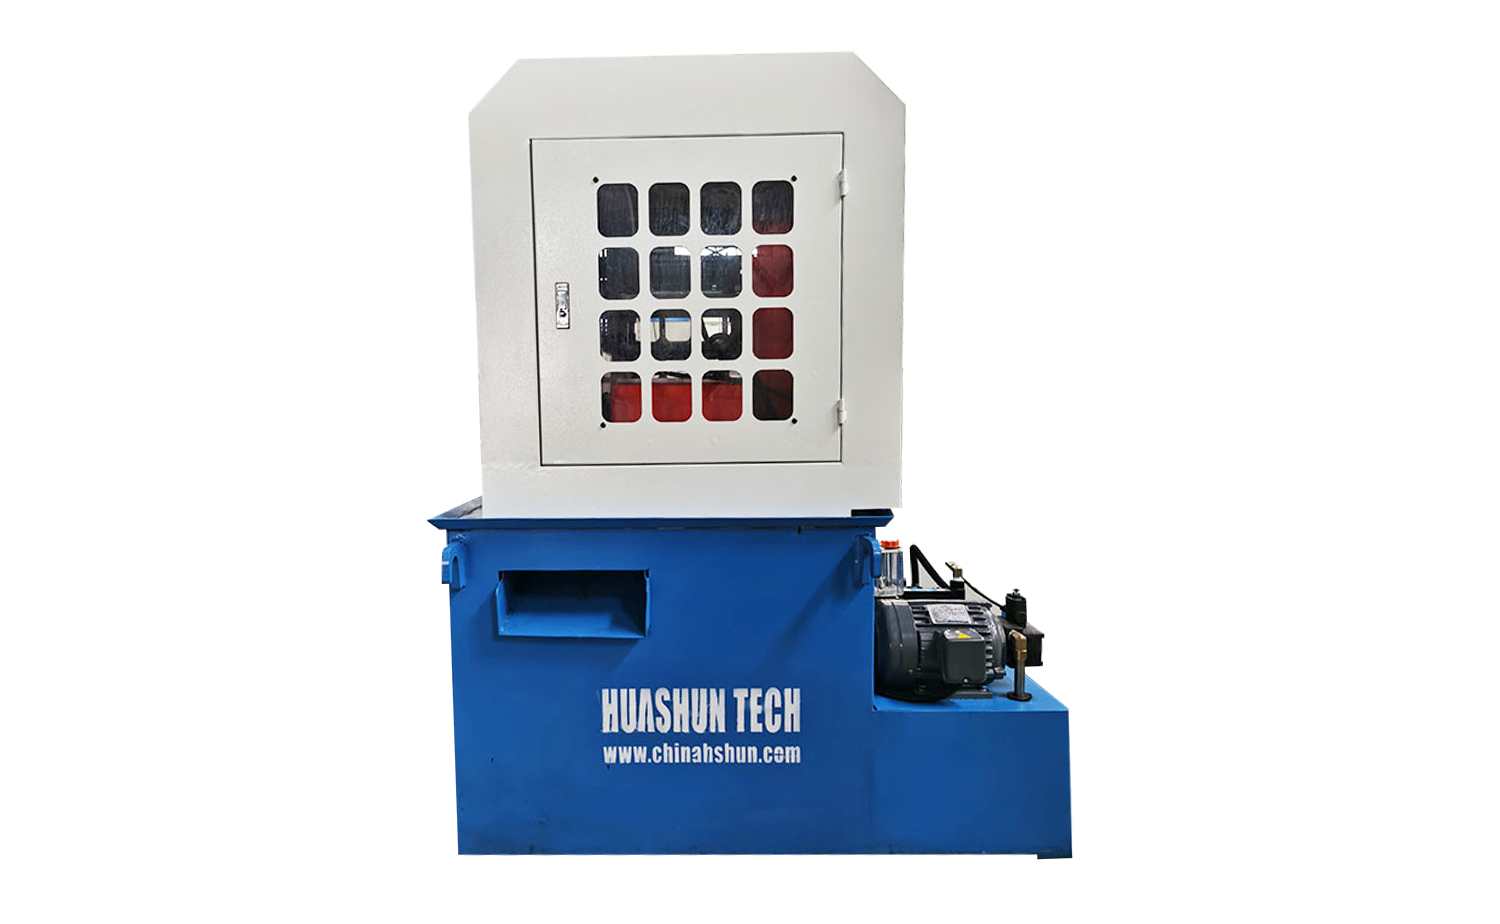
- EF PV2 Series Single Head Tube Chamfering Machine for Metal Tubes
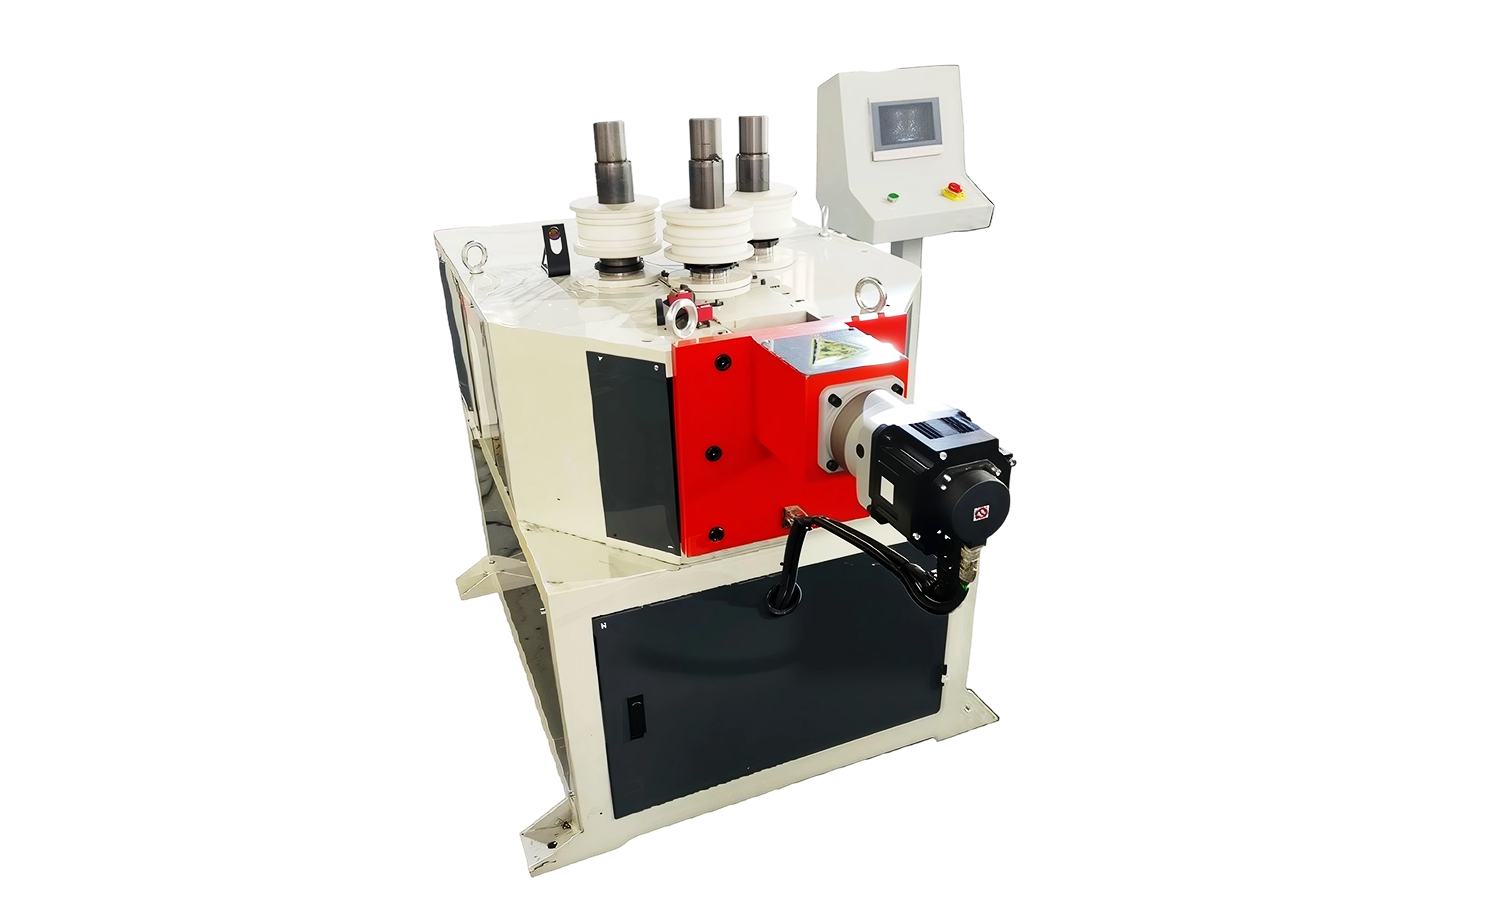
- CNC Series Tube Roll Bending Machine for Metal Profiles
- AZTM-50/76 Automatic CNC Metal Tube End Shrink & Tapering Machine
- YW Series Heavy-Duty Press Bending Machine for Metal Tubes
Different Rivet Types Explained: How to Choose the Right Rivet for Tube and Metal Assemblies
Date:Nov 20, 2026
Content
- 1 The Main Rivet Families at a Glance
- 2 Solid Rivets: The Traditional Load Carrier
- 3 Blind Rivets: When You Can Only Reach One Side
- 4 Tubular and Semi-Tubular Rivets: Fast, Light, and Assembly-Friendly
- 5 Split, Drive, and Other Specialized Rivets
- 6 How to Choose the Right Rivet Type
- 7 Rivet Types in Tube and Metal Fabrication
- 8 Common Mistakes and Practical Checks
Rivets look simple until a joint fails. In tube, sheet metal, and mixed-material assemblies, the phrase "different rivet types" covers a family of fasteners that install in different ways and behave differently under load. The right choice comes down to access, material thickness, joint strength, corrosion, and the pace of production. This guide walks through the common rivet families and the practical checks we use when matching a fastener to a fabricated tube or metal assembly.
The Main Rivet Families at a Glance
Most shop-floor conversations start with four families: solid, blind, tubular, and split rivets. Drive rivets and specialty structural fasteners also appear where access or vibration control matters. The table below is a quick orientation, not a substitute for testing a joint in its real material and load direction.
| Rivet type | Installation access | Typical joint | Practical notes |
|---|---|---|---|
| Solid | Both sides | Structural and load-bearing | Strong and durable; needs access and skilled setting. |
| Blind | One side | Sheet, tube frames, enclosures | Fast and versatile; grip range and stem type matter. |
| Tubular or semi-tubular | Both sides, often automated | Light assemblies, hinges, brackets | Low force and fast feed; less strong than solid. |
| Split or bifurcated | Both sides | Soft materials, leather, light metal | Legs spread behind the material; good for fragile parts. |
| Drive | One side, press-in | Panels, trim, light duty | No special tool; not for high loads. |
| Specialty structural or self-piercing | Varies | High-strength or sheet-to-sheet | High performance; process-specific tooling required. |
Solid Rivets: The Traditional Load Carrier
A solid rivet is a single shank with a formed head. It is installed with a hammer, squeezer, or press, and the tail is deformed to fill the hole and create a second head. Because the shank is solid, these rivets can carry high shear and tensile loads and resist vibration well. Common head styles include universal, pan, brazier, and countersunk. Solid rivets are common in structural metalwork, truck frames, heavy equipment, and aerospace assemblies. The trade-off is access: both sides must be reachable, and the operator needs a bucking bar or anvil to support the tail. Hole size, hole quality, and setting pressure all affect the finished joint. In tube assemblies, solid rivets suit brackets and load-bearing connections where both sides can be reached and consistency can be controlled.
Blind Rivets: When You Can Only Reach One Side
Blind rivets are installed from one side with a tool that pulls a mandrel through the rivet body. The mandrel expands the body against the far side of the work and then snaps off. Open-end blind rivets are general-purpose fasteners for sheet, tube, and enclosure work. Closed-end rivets seal the hole and resist moisture. Multi-grip rivets cover a wider material range, which helps when thickness varies. Peel or tri-fold rivets spread behind soft or brittle material to reduce pull-through. Structural blind rivets use a locking stem or high-strength body for vibration and load. For tube frames, HVAC parts, automotive brackets, and cabinets, blind rivets save time and avoid back-side access. The catch is that you must match grip range to total thickness, choose the right hole diameter, and confirm the rivet material is compatible with the tube. A blind rivet is not automatically a structural rivet.
Tubular and Semi-Tubular Rivets: Fast, Light, and Assembly-Friendly
Tubular rivets have a hollow or partly hollow tail. During setting, the tail rolls or flares rather than filling the whole shank, so setting force is lower and cycle times can be short. Semi-tubular rivets keep more solid metal in the shank and offer more strength than full tubular types. They are common in light metal assemblies, hinges, brackets, appliance parts, and high-volume production. Both sides must be accessible, but the process can be automated with feed systems and impact riveting machines. For repeated tube-frame work, a stable feeder and consistent anvil setup often matter as much as the rivet itself. These rivets are a good fit when the joint is light, the hole is clean, and the production rhythm rewards speed and repeatability.
Split, Drive, and Other Specialized Rivets
Split or bifurcated rivets have two legs that spread behind the work. They are useful for leather, plastics, soft metals, and light joints where a conventional rivet might crush the material. Drive rivets are pressed into a hole and hold through friction or a split shank. They are quick for panels, trim, and light-duty work, but they are not a substitute for structural fasteners. Flush rivets use a countersunk head to sit level with the surface, which matters in aerodynamic or appearance-critical assemblies. Self-piercing rivets go a step further by piercing and joining sheet materials without a pre-drilled hole in some processes. Specialty structural rivets and lockbolt-style fasteners sit at the high-strength end, with controlled clamp and vibration resistance. Each has a place, but each also brings its own tooling and hole preparation requirements.
How to Choose the Right Rivet Type
Start with the joint, not the catalog. A few checks will narrow the field quickly:
- Check access. If both sides can be reached, solid and tubular rivets are possible. If only one side is open, blind or drive rivets move to the front.
- Match the load. Shear, tension, vibration, and fatigue are different demands. A general-purpose blind rivet may be fine for a cover panel and wrong for a load-bearing bracket.
- Measure total thickness. The rivet's grip range must cover the combined material thickness after clamping. Too short and it will not form correctly; too long and the joint can be loose or distorted.
- Confirm hole size and quality. A ragged or oversize hole reduces contact and load capacity. Drill or punch to the rivet maker's specification and deburr where needed.
- Think about materials. Aluminum, steel, stainless, copper, and plastics behave differently. Also consider galvanic corrosion when dissimilar metals stay wet or exposed.
- Choose the head style for the surface. Dome and large-flange heads spread load; countersunk heads sit flush; large flange heads help with soft or thin sheet.
- Match the installation method to volume. Hand tools suit repair and low volume. Automated feed and impact riveting make sense when thousands of identical joints are coming down the line.
When a joint is critical, make sample pieces with the actual material, hole size, and tool, then pull or shear test them. That one step catches more problems than a catalog comparison.
Rivet Types in Tube and Metal Fabrication
Tube fabricators meet rivets in frame assemblies, brackets, hinges, guards, racks, HVAC components, and mixed metal-and-plastic products. In automotive manufacturing, blind and structural rivets often appear where one-side access and vibration resistance matter. In structural and architectural work, solid and large-flange rivets may suit visible or load-bearing connections, while tubular rivets fit lighter brackets and trim. The common thread is consistency: the same rivet, hole, and tool setting should produce the same joint every cycle.
 SX-60 Automatic Feed Impact Riveting MachineFor high-volume tubular and semi-tubular rivet assemblies, this automatic-feed machine supports continuous riveting with adjustable clinch and consistent clamping.View Product →
For repeat production, an automatic feed impact riveting machine can reduce manual handling and keep cycle times even. It is not a universal answer for every rivet family, but it is a practical option when tubular or semi-tubular rivets are used in high-volume tube and sheet assemblies.
Common Mistakes and Practical Checks
Most rivet problems show up before the tool is picked up. Watch for these:
- Using a hardware-store blind rivet for a joint that needs a structural fastener.
- Ignoring grip range and forcing a rivet through a stack that is too thick or too thin.
- Drilling an oversize hole or leaving burrs that prevent the rivet from seating.
- Mixing rivet and base materials without considering corrosion.
- Setting rivets with a worn tool, wrong nose piece, or inconsistent pressure.
- Assuming a rivet is removable when the design expects service access.
Keep a simple setup sheet for each joint: rivet part number, material, hole size, grip range, tool setting, and inspection check. That sheet is often more useful than a shelf full of samples.
Different rivet types solve different problems. Solid rivets carry load, blind rivets solve access, tubular rivets speed up light assembly, split rivets handle soft materials, and drive or specialty rivets fill narrower roles. The best choice is the one that matches the joint's access, thickness, load, material, and production volume, then gets tested in the real assembly. When that logic is clear, the rivet becomes a reliable part of the process rather than a last-minute fastener.
Recommended Articles


Copyright © 2025 Huashun Technology All Rights Reserved.
Custom Precision Tube Forming Machine Manufacturers